
 Save This
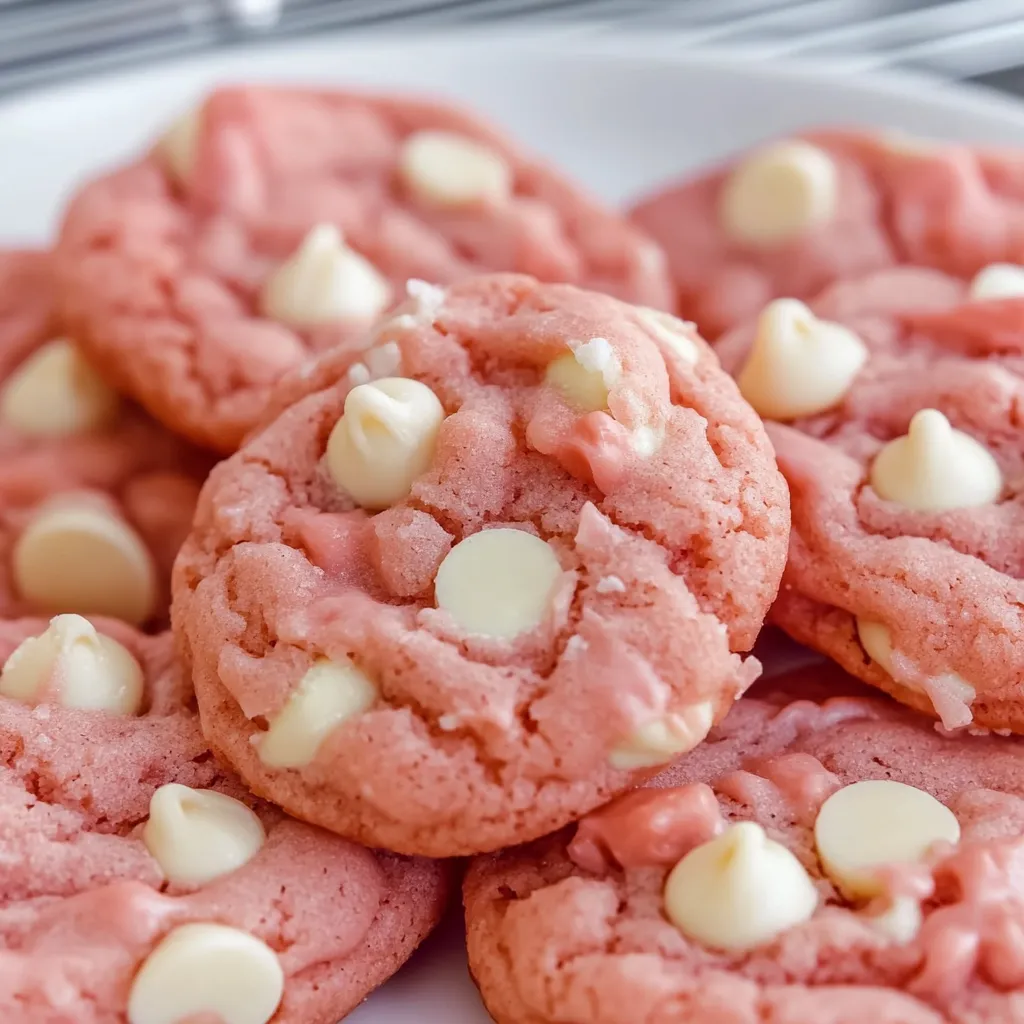
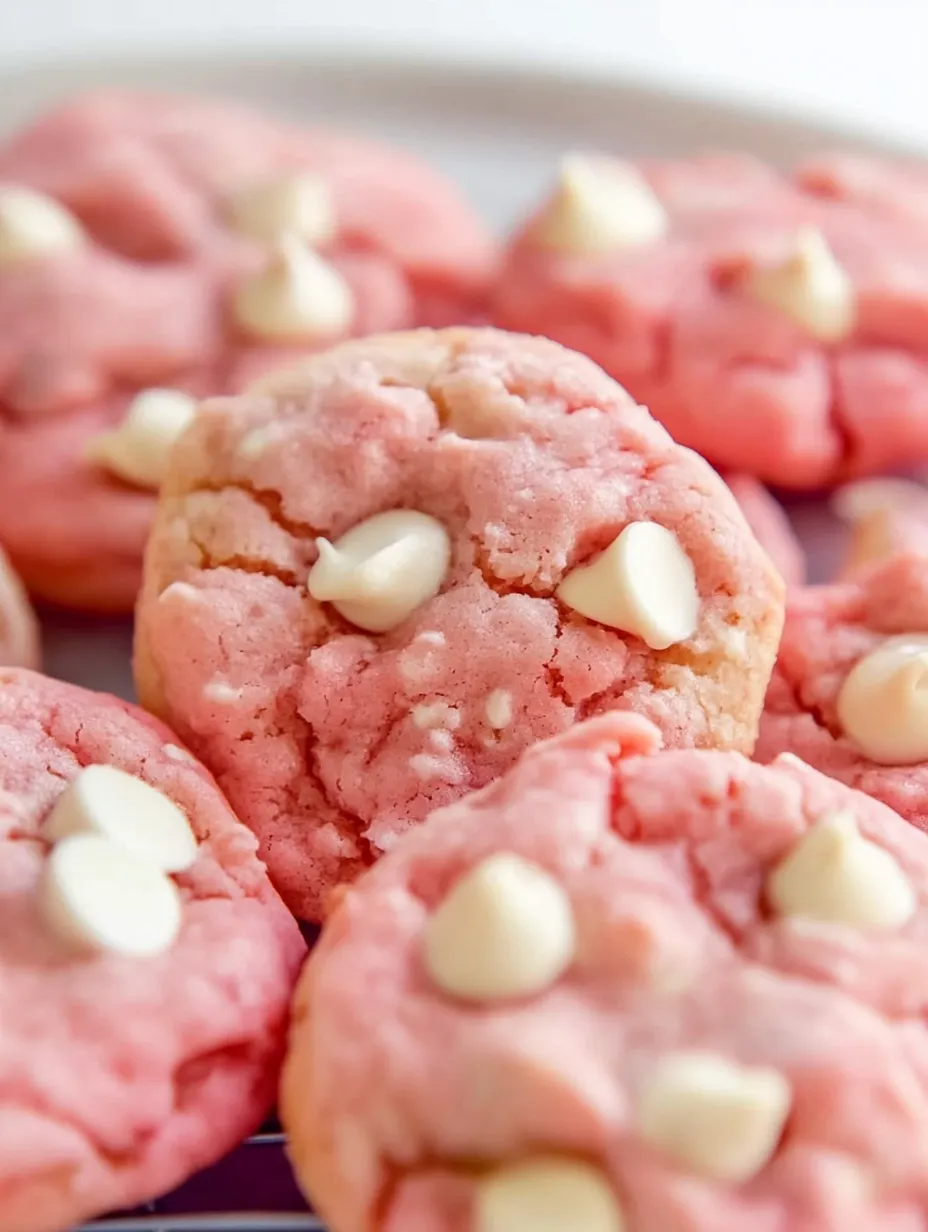
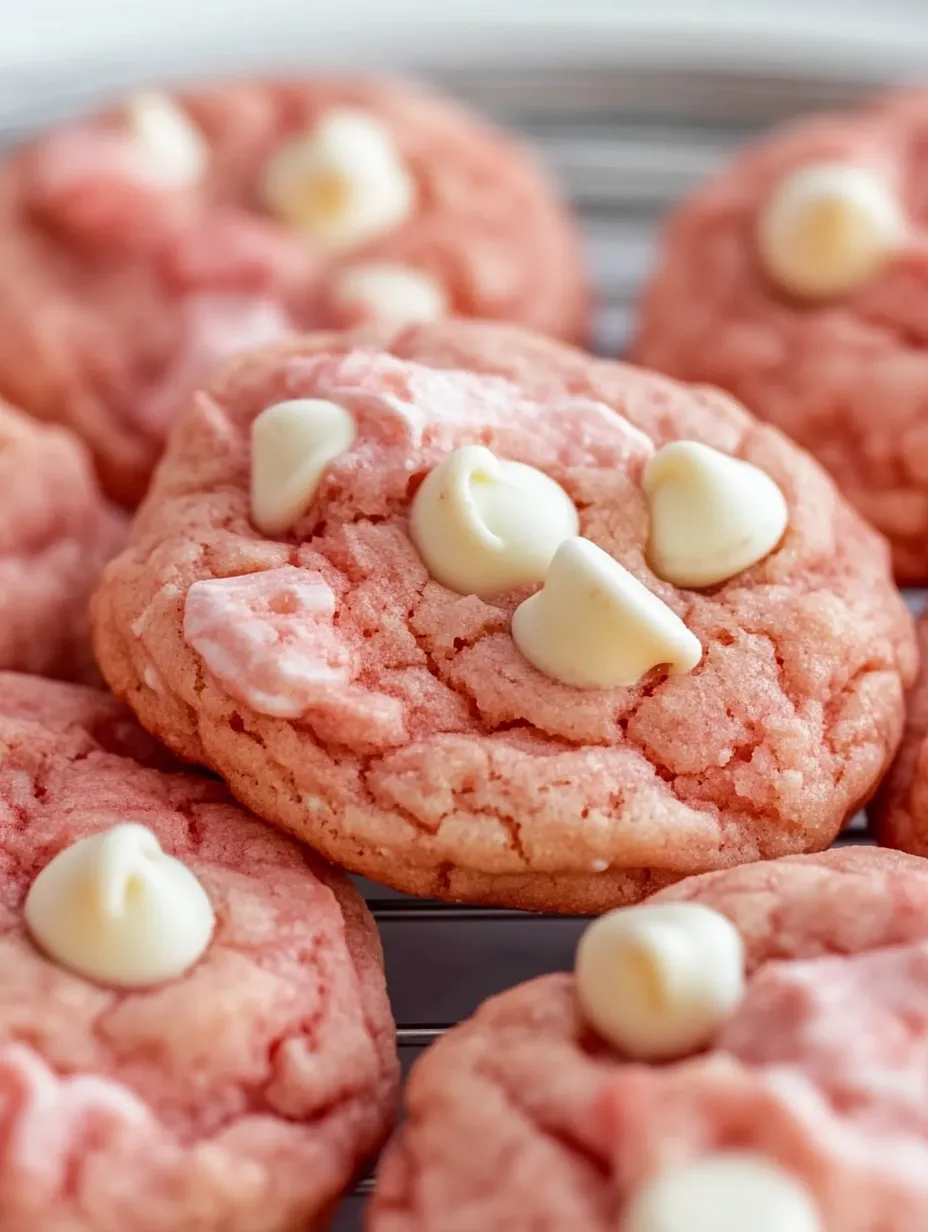
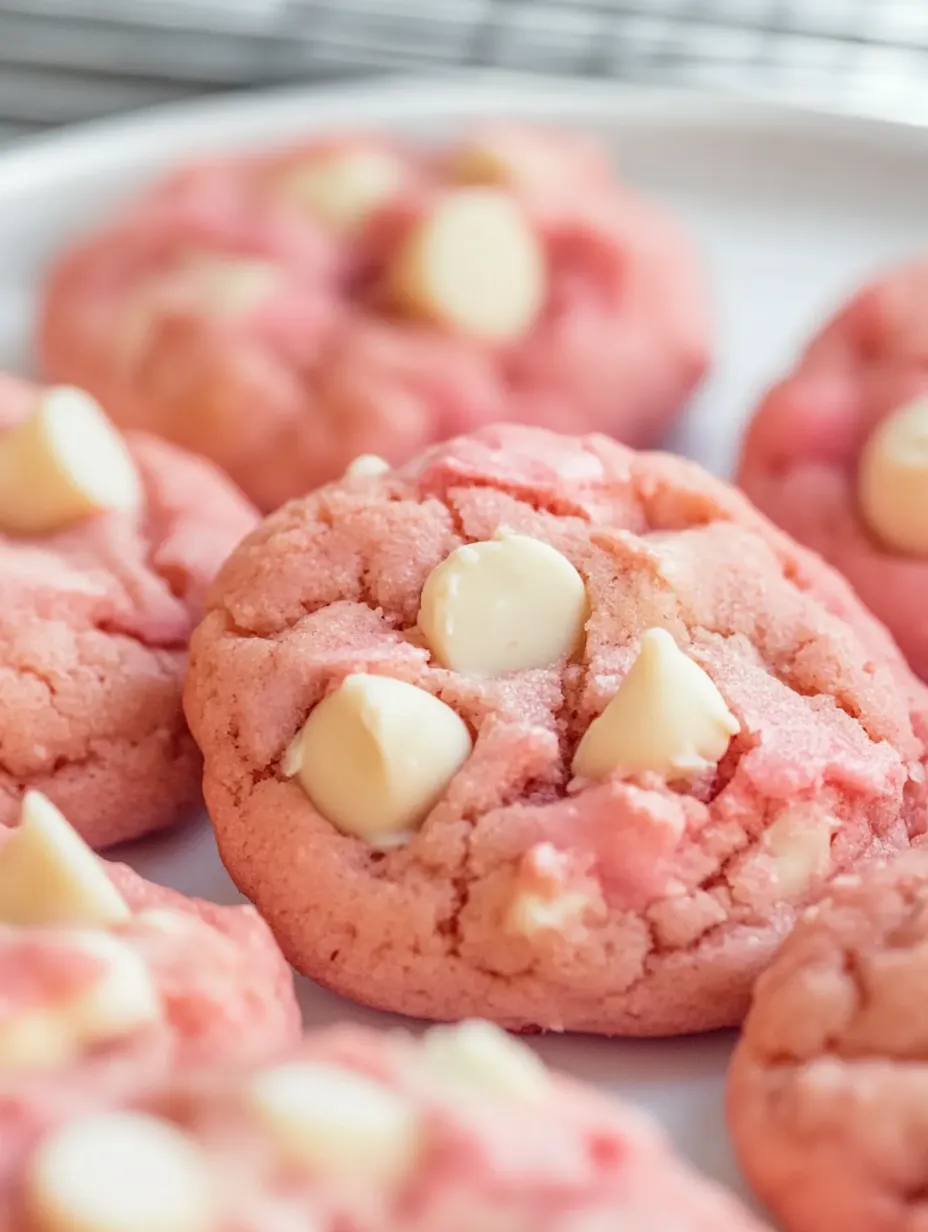
Take a bite of these pillowy, pink treats bursting with fruity goodness and smooth white chocolate bits. These cookies transform a simple boxed mix into something truly special without much work but tons of taste. You'll love how the soft, chewy texture matches perfectly with the bright strawberry flavor—they're just right when you want something sweet with a fruity kick.
Cookie Wonder
- Their pretty pink look makes these treats perfect for special events but simple enough for everyday snacking
- You'll get that ideal texture—slightly crisp around the edges with soft middles
- The strawberry and white chocolate combo creates a taste that'll satisfy any sugar craving
- You barely need any prep time but they turn out like you bought them at a fancy bakery
I whipped these up for my kid's birthday bash, and they vanished quicker than anything else on the dessert table. The grown-ups kept talking about how real the strawberry taste was, not fake at all. The little ones couldn't get enough of the fun color. Now my family asks for them at practically every get-together we have.
Key Components
Cookie Building Blocks
- Strawberry Cake Mix: This gives our cookies their base flavor and that lovely pink color. Don't worry about which brand to grab—I've tried lots of different ones and they all work great.
- Baking Powder: This helps our cookies puff up just right, so they stay chewy without getting too dense or flat.
- Eggs: These hold everything together and help make that soft, moist middle that makes everyone reach for seconds.
Taste Boosters
- Butter: Using unsalted butter adds a rich taste and helps create those slightly crunchy edges that work so well with the soft centers.
- Vanilla Extract: It might seem small, but this ingredient makes the strawberry flavor pop by adding some warmth and depth.
- White Chocolate Chips: These little pockets of sweetness play perfectly with the fruit flavors while making each cookie look extra tempting.
 Save This
Baking Steps
Getting Ready
Start by warming your oven to 350°F. Grab a cookie sheet and put some parchment paper on it so your cookies won't stick and cleanup will be a breeze. This makes sure your treats bake evenly and come off the pan without breaking.
Mixing It Up
Take a medium bowl and mix your cake mix with the baking powder. Give them a good whisk so the baking powder spreads out evenly in the mix. This way, your cookies will rise the same all over.
Making The Dough
Now put in your eggs and vanilla. Mix until they're just combined—too much mixing will make tough cookies. Then add your soft butter and keep mixing until everything sticks together and feels a bit sticky when touched.
Adding The Good Stuff
Take your white chocolate chips and fold them into the dough with a spatula. Do this gently so you don't break up the chips, but make sure they're spread out nicely so every bite has some chocolate.
 Save This
Forming Your Cookies
Get a medium cookie scoop and make balls that are about 1½ tablespoons each. Roll them between your hands to make them nice and smooth. This trick helps them bake the same all over and look like they came from a bakery.
Watch The Clock
Let them bake for 8-10 minutes until the edges look set but the middle still seems a little soft. Want them to look extra fancy? Push a few more white chocolate chips on top right after they come out of the oven.
Cooling Down
Let your cookies sit on the hot pan for 2-3 minutes before moving them to a cooling rack. This short rest lets them firm up enough to move without breaking and finishes the baking with the leftover heat.
I really love using fancy white chocolate in these treats. We found this local chocolate maker who puts real vanilla beans in their white chocolate, and wow—it makes these simple cookies taste amazing. Those tiny black specks of vanilla just do something magical with the strawberry flavor. It still surprises me every time I make them, and I've baked these tons by now.
Ways To Enjoy
Make these cookies even better with a few serving tricks. Put some vanilla ice cream between two cookies for a homemade treat that beats anything from the store. The cold, creamy ice cream next to the soft, strawberry cookie is just incredible.
They go really well with afternoon tea, especially flowery ones like jasmine or chamomile. The flavors work together so nicely for a perfect break in your day. If you're more into coffee, try them with a cappuccino—the creamy milk matches the white chocolate bits.
For parties, set out the cookies on a tiered stand with fresh strawberries and some whipped cream for dipping. Guests always love this simple but impressive dessert setup. The fresh berries bring out the strawberry flavor in the cookies and add something healthy to your treat.
Mix It Up
Try switching things around for new flavors. You can use dark chocolate instead of white for a grown-up taste or milk chocolate for something cozy and familiar. The strawberry base works great with almost any chocolate you choose.
Want some crunch? Throw in 1/2 cup of chopped macadamias or pistachios. The little bit of crunch works really well against the soft cookie, and their mild flavors won't fight with the strawberry taste.
Make them match the season by adding 1/3 cup of crushed freeze-dried strawberries for extra berry flavor or 1/4 cup of colorful sprinkles for parties. During Christmas time, try peppermint chips for a cool twist that still looks pretty and pink.
Keeping Them Fresh
Keep your cookies tasting great by storing them in a sealed container with a slice of bread. The bread helps keep the right amount of moisture so the cookies don't dry out and stay chewy for up to five days on your counter.
Want to freeze your baked cookies? Lay them out on a baking sheet until they're frozen solid, then put them in freezer bags with parchment paper between the layers. This stops them from sticking together or getting freezer burn, and they'll taste great for up to three months.
For warm cookies whenever you want them, roll the dough into balls and freeze them on a baking sheet. Once they're hard, toss them in freezer bags. When you need a cookie fix, just bake them straight from the freezer, adding 2-3 extra minutes to the baking time. It's so handy to have cookie dough ready to go on busy days.
 Save This
Pro Tips
- Watch Your Butter: Let butter soften naturally on the counter instead of using the microwave—it keeps the fat structure that makes your cookies turn out just right
- Go Old School: Use a wooden spoon to mix wet stuff into dry instead of an electric mixer—it keeps you from overworking the dough and making tough cookies
- Be Patient: Make sure your cookie sheets cool completely between batches—putting dough on warm pans makes cookies spread too early and come out uneven
Commonly Asked Questions
- → Can I swap for a different cake mix flavor?
- Absolutely! This method works wonderfully with any cake mix flavor. Give chocolate, vanilla, or lemon a try for tasty alternatives.
- → Why should I add baking powder when the mix has raising agents already?
- That extra bit of baking powder gives your cookies more lift and creates that wonderfully soft, puffy texture everyone loves.
- → How can I tell when the cookies are ready?
- Look for edges that have just firmed up while the middle stays soft after about 8-10 minutes. They'll firm up more as they cool down.
- → Is it okay to freeze these cookies?
- You bet! Store baked cookies in a sealed container in the freezer for up to 3 months, or save dough balls to bake whenever you want.
- → What can I use instead of white chocolate chips?
- You can try milk chocolate chips, butterscotch morsels, or even toss in some dried strawberry pieces for a different flavor twist.