
 Save This
Dreamy Nutty Chocolate Cups. My mouth waters just thinking about them. This easy recipe turns kitchen basics - peanut butter, cocoa, maple syrup, and coconut oil - into something downright incredible. These homemade goodies actually taste better than anything from the store, plus they happen to be vegan, gluten-free, and dairy-free too.
I've been hooked on that chocolate-peanut butter combo since I was a kid. There's just something about it that beats every other candy out there. I've made the traditional version at home before, but sometimes I want that same yummy taste without feeling sluggish afterward. These cups hit the spot perfectly - all the yumminess with none of the guilt. When my neighbor's dairy-allergic son tried these last week, his big smile made my whole day worthwhile.
Pure Ingredient Magic
- Cocoa powder: Go with regular for that familiar taste or dark if you want something deeper and less sweet. You'll get real chocolate flavor without any funky extras.
- Natural sweetener: The maple syrup balances everything perfectly, though you can use honey if you're not keeping it vegan. Each brings its own special taste notes.
- Coconut oil: This creates that satisfying crack when you bite in. It also adds just a hint of sweetness that works with everything else.
- Peanut butter: The smooth kind works best here, but pick whatever you like. Just make sure to mix the natural kinds really well before you measure.
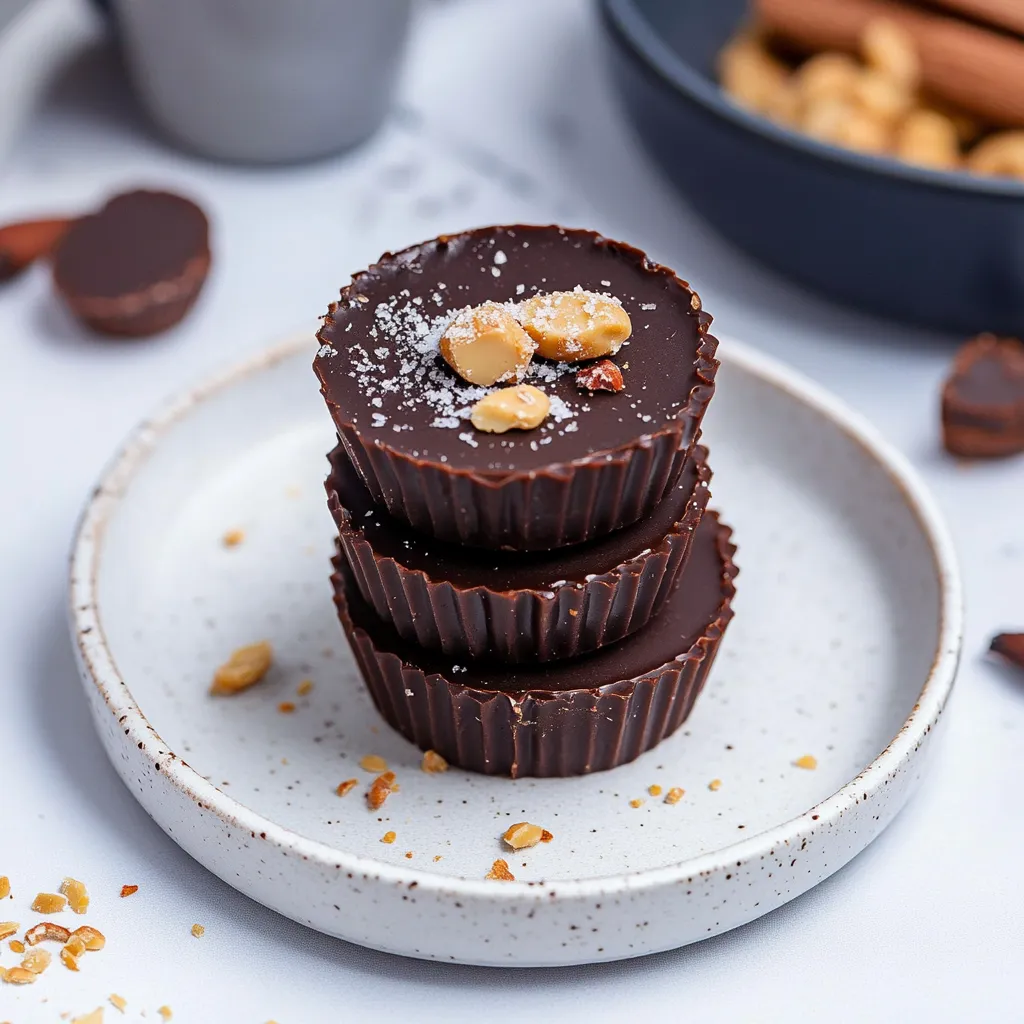
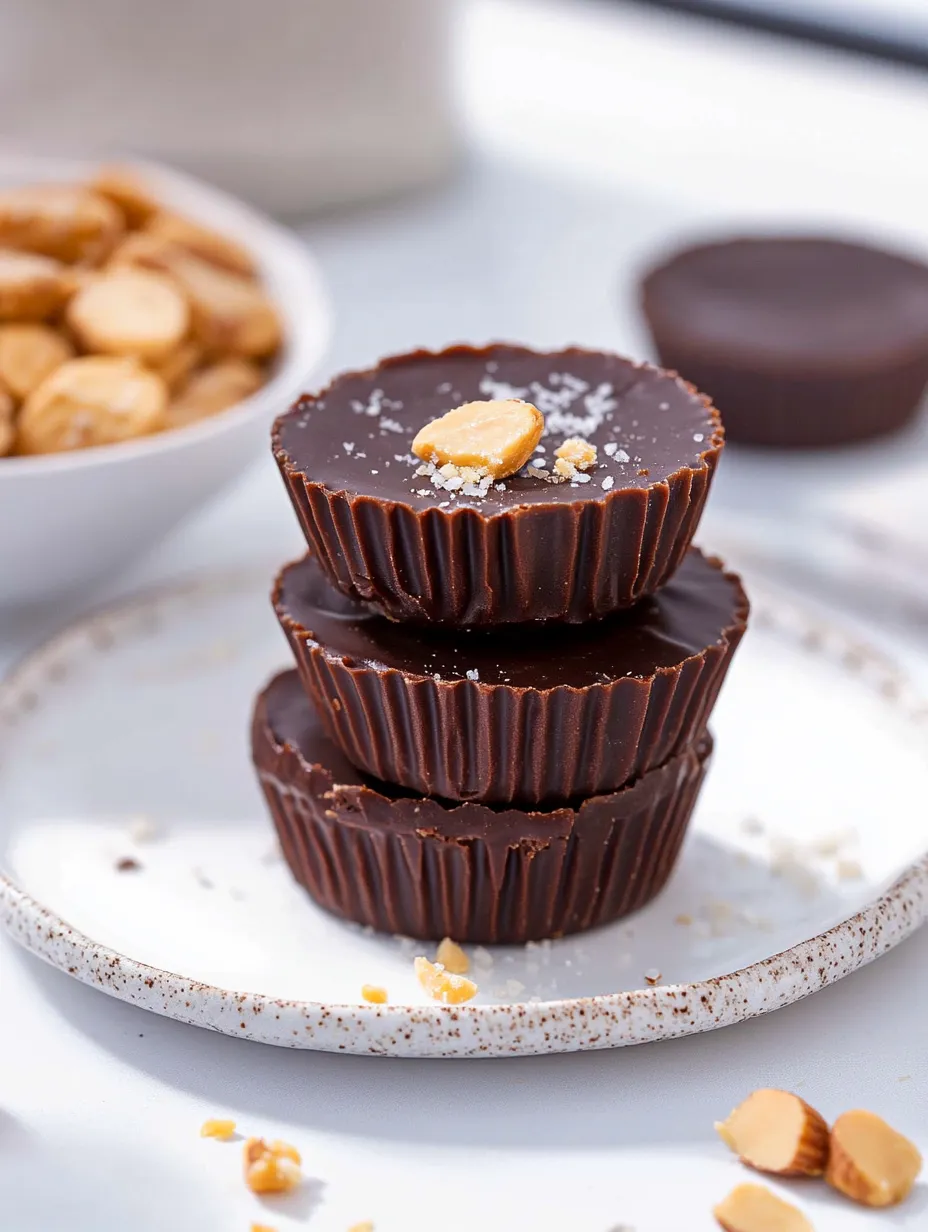
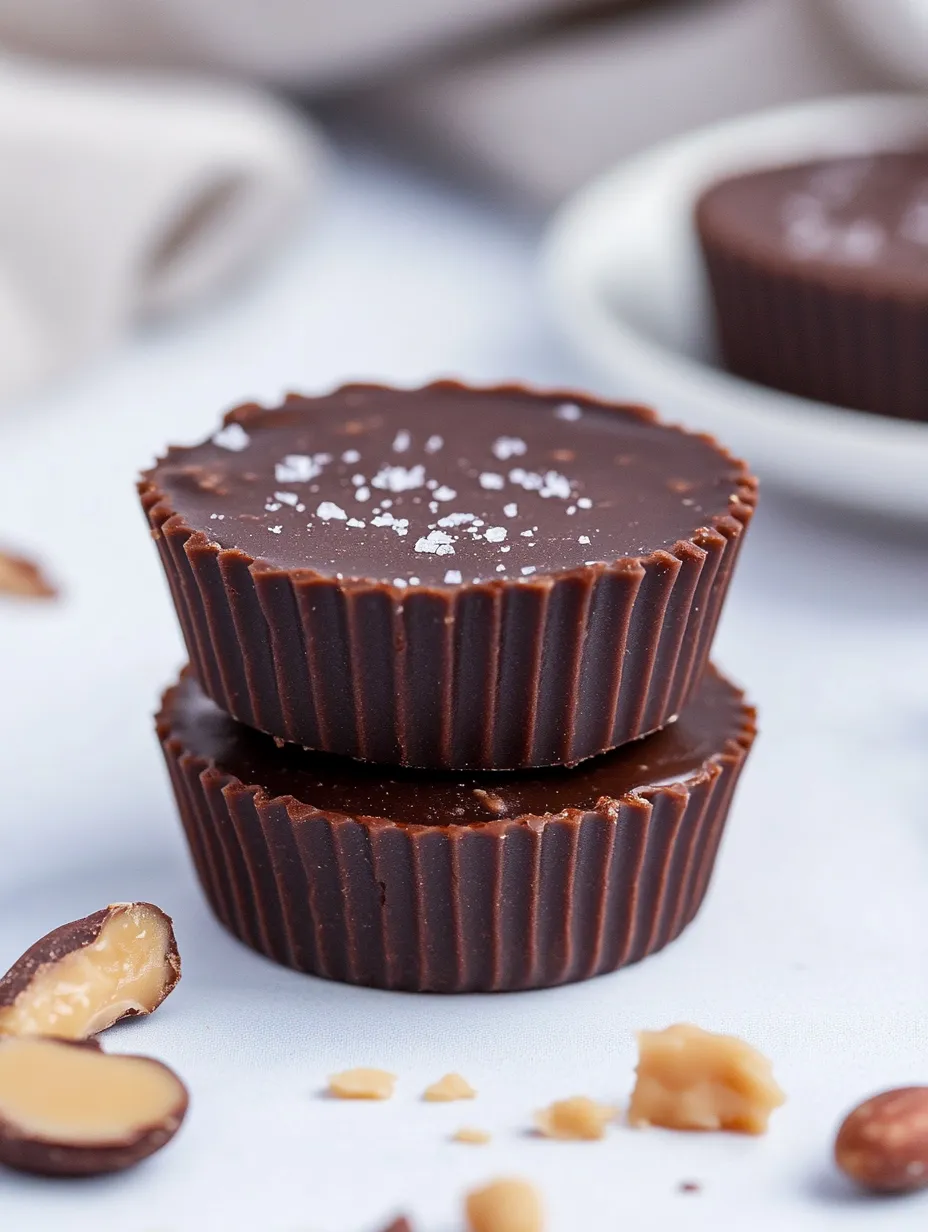
- Salt: This is a must-have! It makes the sweetness pop and brings everything together. That little sprinkle on top is what makes these truly amazing.
 Save This
My journey with better-for-you treats began about five years back when my sister found out gluten wasn't her friend. Our family always gets together around food, and seeing her pass on dessert pushed me to create sweets everyone could enjoy. These cups were one of my first big wins - even my dad, who usually turns his nose up at anything labeled "healthy," grabs these without thinking twice.
Tasty Assembly Steps
- Mix the filling first
- Always start with the peanut butter mixture - this is super important! The chocolate starts hardening fast once it's mixed. I learned this mistake firsthand and ended up with chocolate too thick to spread nicely. Whisk your peanut butter with sweetener until it's totally smooth, which usually takes about half a minute.
- Watch your ingredient warmth
- Everything blends way better at room temperature than straight from the fridge. I pull out my maple syrup when I first start gathering stuff. Cold sweetener creates little bumps in both mixtures that never go away. Nobody wants bumpy chocolate cups!
- Get your liners ready
- Set up your muffin tin with liners before mixing anything else. Once your chocolate is mixed, you'll need to work fast. Regular-sized muffin cups work so much better than tiny ones - you just can't layer properly in the small size. I've tried both and the standard size wins every time.
- Mix the chocolate right
- Whisk together your cocoa, oil, maple syrup and salt steadily. It might look separated at first but keep going - it suddenly comes together beautifully. If your kitchen's chilly, warming the coconut oil slightly helps everything combine better.
- Build your layers
- You'll need to move quickly since the chocolate sets up fast. Put two teaspoons of chocolate for the bottom and spread it flat. Then add two teaspoons of peanut butter, carefully pushing it toward the edges. Finally, top with two more teaspoons of chocolate, gently evening out the top. Don't stress if they're not perfect - they'll taste amazing anyway.
- Wait it out
- The toughest part isn't making these - it's waiting for them to firm up. Two hours minimum in the fridge, though leaving them overnight works great too. I've definitely tried one too early and made a mess. Trust me, they're worth the wait.
My son and his basketball buddies wiped out a whole batch of these after practice last weekend. I caught them looking at my ingredient list afterward, confused that something this tasty could be made without all the usual junk. My daughter now asks for these instead of cake every birthday, with just one candle stuck on top. I keep all the ingredients on hand constantly now since we make them so often.
Creative Variations
You can switch up these cups in so many ways. Sometimes I grab crunchy peanut butter for extra bite. Switching to almond butter makes them a bit fancier, perfect when friends come over for dinner. A tiny bit of cinnamon in the chocolate gives them a Mexican hot chocolate vibe that goes great with coffee after meals. During Christmas, I've stuck little candy cane pieces on top for a minty holiday twist.
Gifting Goodies
These treats make wonderful handmade presents. I've packed them in small boxes with parchment paper for my kids' teachers. They travel pretty well in cooler weather - just keep them away from heat or sun. For school fundraisers, I put each cup in a mini liner inside a regular one for extra protection and a nicer look. People always seem surprised when I tell them there's no regular sugar or dairy inside.
Smart Substitutions
For folks with peanut allergies, sunflower seed butter works amazingly well. The taste shifts a bit but stays really good. Almond butter makes a more subtle version that some of my friends actually like better. For extra richness, try mixing tiny chocolate chips into the peanut butter part. If you want them sweeter, you can add a bit more maple syrup to the chocolate mixture, though I think the recipe's perfect as is.
Keeping Them Fresh
These cups need to stay in the fridge - they get mushy fast at room temp because of the coconut oil. Keep them in a container with a good lid to stay fresh. I usually leave the paper wrappers on until eating to avoid any sticking. When I freeze them, I lay them flat in a container with parchment between layers if I need to stack them. They thaw perfectly after about 20 minutes in the fridge.
 Save This
I've whipped up these nutty chocolate cups countless times over the years, tweaking things a little each round until landing on this perfect version. What started as a way to help my sister enjoy dessert again turned into our go-to family treat. There's something really cool about making a healthier version of a classic sweet that honestly tastes better than the original. Watching them vanish faster than store-bought candy whenever I serve them tells me all I need to know. Better stuff really does make better food.
Commonly Asked Questions
- → Can I swap peanut butter for another type of nut butter?
- You bet! Try cashew butter, almond butter, or go with sunflower seed butter if you need a nut-free option. The taste will change slightly with each choice, but they'll come together just the same way.
- → Why does my chocolate mix keep separating?
- Cold maple syrup straight from the fridge can make coconut oil harden and split apart. Let your syrup warm to room temp first, then stir quickly to blend everything smoothly.
- → Should I keep these in the fridge?
- Definitely pop them in the fridge. The coconut oil gets soft when it's warm. You can leave them out for a bit when serving, but they'll last longer and hold their shape better when kept cold.
- → How can I make them less sweet?
- Cut back to 1/3 cup maple syrup in the chocolate part and just 2 tablespoons in the peanut butter mix. Going with darker cocoa powder gives a stronger chocolate kick with less sweetness. A tiny bit more salt can also balance the sweet taste.
- → Will honey work instead of maple syrup?
- Honey works fine in the same amounts. Just remember it has its own distinct flavor that'll come through, and your treats won't be vegan anymore if that matters to you.