
 Save This
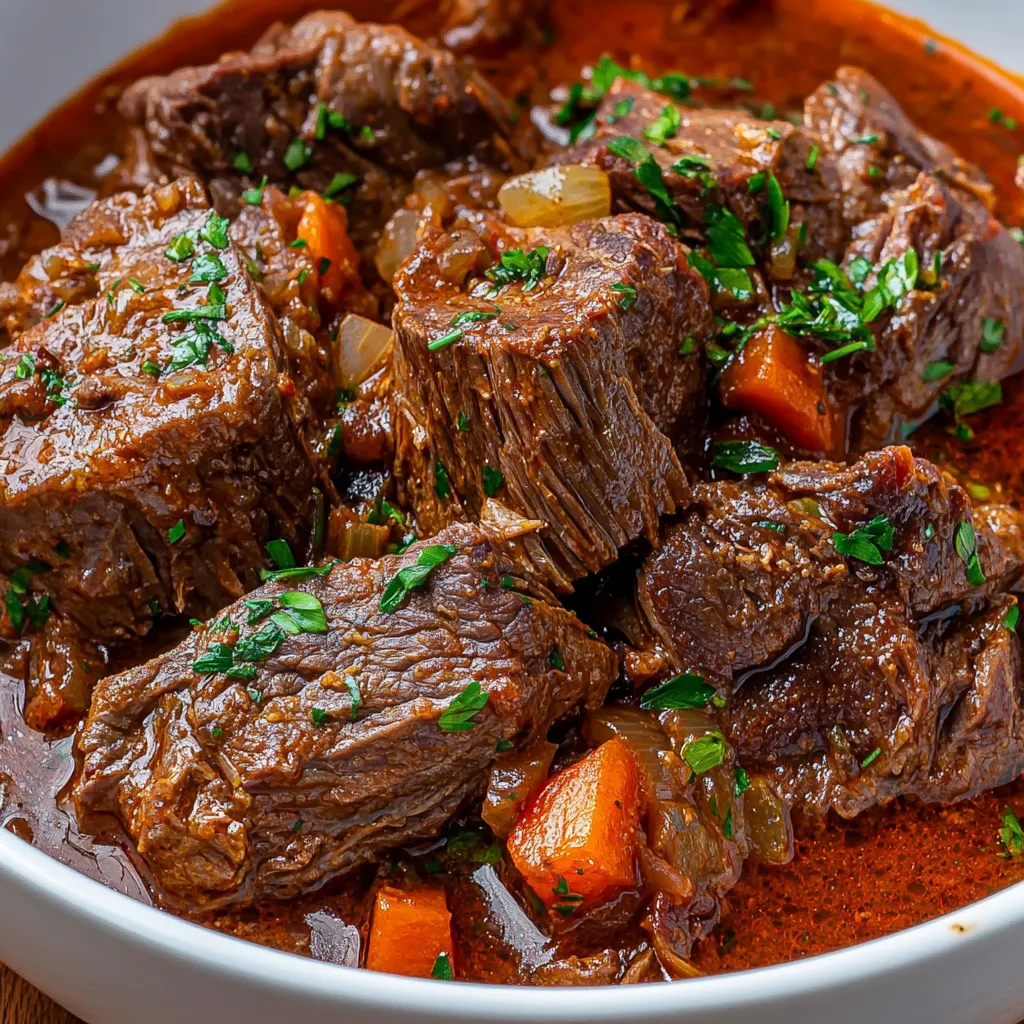
The slow-cooked beef dish from Italy, traditionally called "stracotto," turns cheap meat cuts into something amazing. By letting it cook for hours, you get super soft beef in a deep tomato sauce loaded with veggies and herbs. Different from American-style pot roast, the Italian take brings in tomato tang and more herbs, making a sauce you'll want to mop up with bread or spoon over polenta.
I tried making this after eating at a tiny restaurant in Tuscany that served the best beef I'd ever had. The owner told me stracotto literally means "cooked too much" - but in a good way! My first try at home wasn't great - watery sauce and the meat was still tough. After trying several more times and cooking it much longer, I finally got that velvety sauce and fork-soft meat that made me fall for this dish. Now I make it whenever the family comes over for Sunday dinner.
What You'll Need
- Chuck roast: Get one with good fat running throughout for maximum taste when it breaks down during cooking
- Bacon or pancetta: Adds smoky richness to start your dish; go with pancetta for the real Italian experience or thick bacon works fine too
- Onion, carrot, and celery: This trio (called "soffritto" in Italy) starts your sauce off right; cut them the same size so they cook evenly
- Garlic: Chop it small to get the most flavor out of each clove
- Crushed tomatoes: Try to find San Marzano ones for their perfect sweet-tangy balance and thick texture
- Beef broth: Adds meaty depth; make your own if you can, but store-bought low-salt works too
- Fresh herbs: Rosemary and thyme give amazing smell and taste; fresh is best but dried will do in a pinch
- Italian seasoning: This mix usually has oregano, basil and marjoram to give that authentic Italian flavor
- Red pepper flakes: Just enough to cut through the richness; add more or less based on how spicy you like things
How To Make It
- Get the bacon flavor going:
- Start by slowly cooking your diced bacon or pancetta in a heavy pot over medium heat. Stir now and then until the fat melts out and the meat gets crispy, about 5-7 minutes. Take your time here to get all the flavor without burning anything. Scoop out the crispy bits with a slotted spoon, but leave all that tasty fat in the pot.
- Make the meat brown beautifully:
- Grab some paper towels and completely dry your beef chunks before adding lots of salt and pepper on all sides. Heat up that bacon fat until it's shimmering, then carefully put in your beef. Let each side get a nice dark brown crust before turning it - about 4-6 minutes per side. Don't move it around too much or you won't get that good crust that adds so much flavor.
- Build your flavor base:
- Once the beef is browned, take it out and turn the heat down to medium. Throw in your diced onion, carrot, and celery. As they cook, they'll release juices that help scrape up all those tasty browned bits from the bottom of the pot. Cook until everything softens and the onions turn see-through, about 7-10 minutes, stirring occasionally. This mix is what gives your whole dish its flavor backbone.
- Add the aromatics:
- Toss in your minced garlic and red pepper flakes, stirring constantly for about a minute until you can really smell them but they haven't browned. Keep an eye on the garlic since it can burn fast and taste bitter if you let it go too long.
- Create your cooking liquid:
- Pour in the beef broth and use it to scrape up any last browned bits stuck to the pot. Add your crushed tomatoes, herbs, bay leaves, and the bacon you set aside earlier. This mix brings together meaty flavor from the broth, brightness from the tomatoes, and all those herb aromas. Stir everything together well.
- Let it cook slowly:
- Put the beef back in, settling it into the liquid so it's partly covered but not completely submerged. You can finish cooking it on the stove, in the oven, or in a slow cooker - just remember that the magic happens with low, slow heat. The tough parts of the chuck roast need plenty of time to break down and get super tender.
- Check if it's ready:
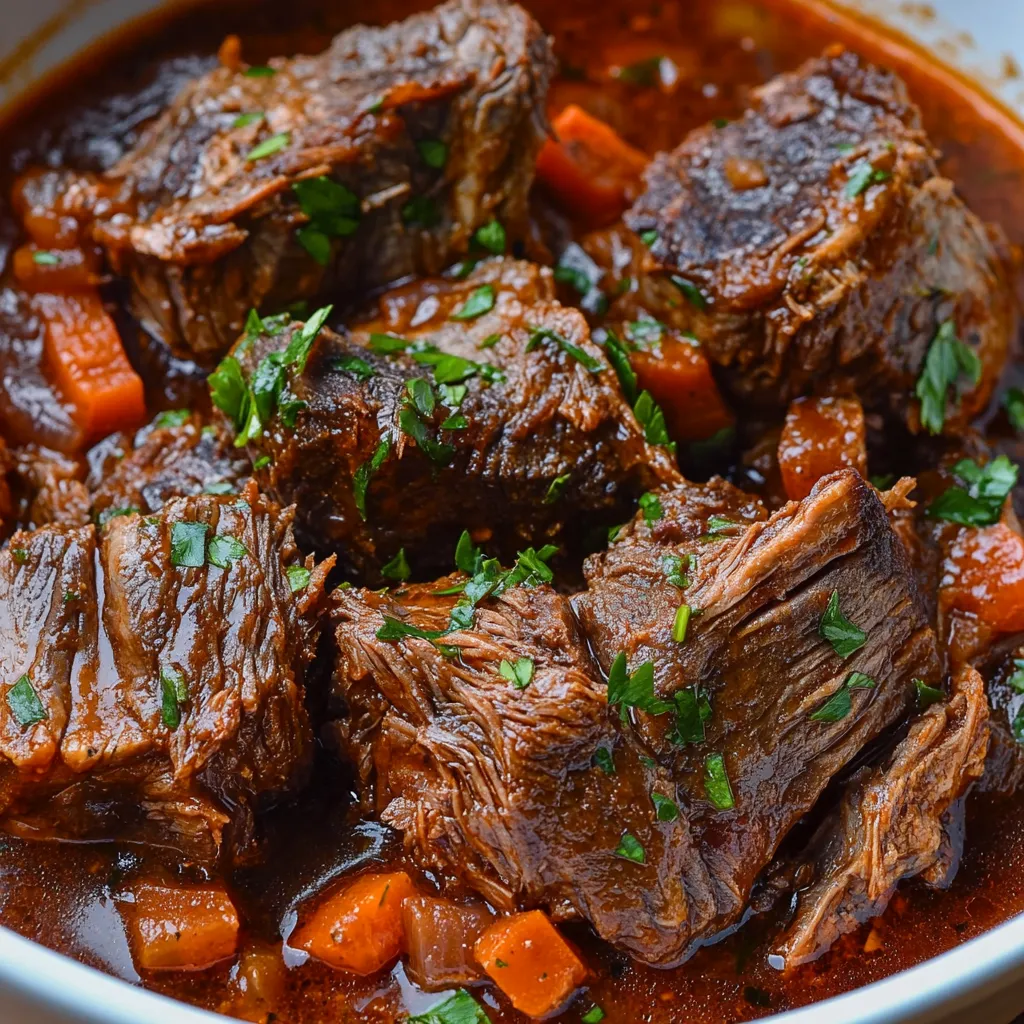
- Instead of just watching the clock, stick a fork into the thickest part of the meat. When it's done, the fork should slide in really easily, and the meat should pull apart without much effort. This usually takes 3-4 hours in a 275°F oven, but might be longer or shorter depending on your meat.
- Finish it off right:
- Take out the bay leaves and taste to see if you need more salt and pepper. Let everything sit for 15-20 minutes before serving. This rest time lets the meat soak up more juice and gets even more tender.
 Save This
My grandma always made her stracotto a day before serving, saying it needed to "rest and dream" in the fridge overnight. I used to think she was just being quirky until I tried it myself. The flavors really do get deeper and mix better after sitting overnight. Now I often cook mine a day ahead too, especially when having people over. Plus, you can easily scrape off any fat that hardens on top before warming it up again.
What To Serve With It
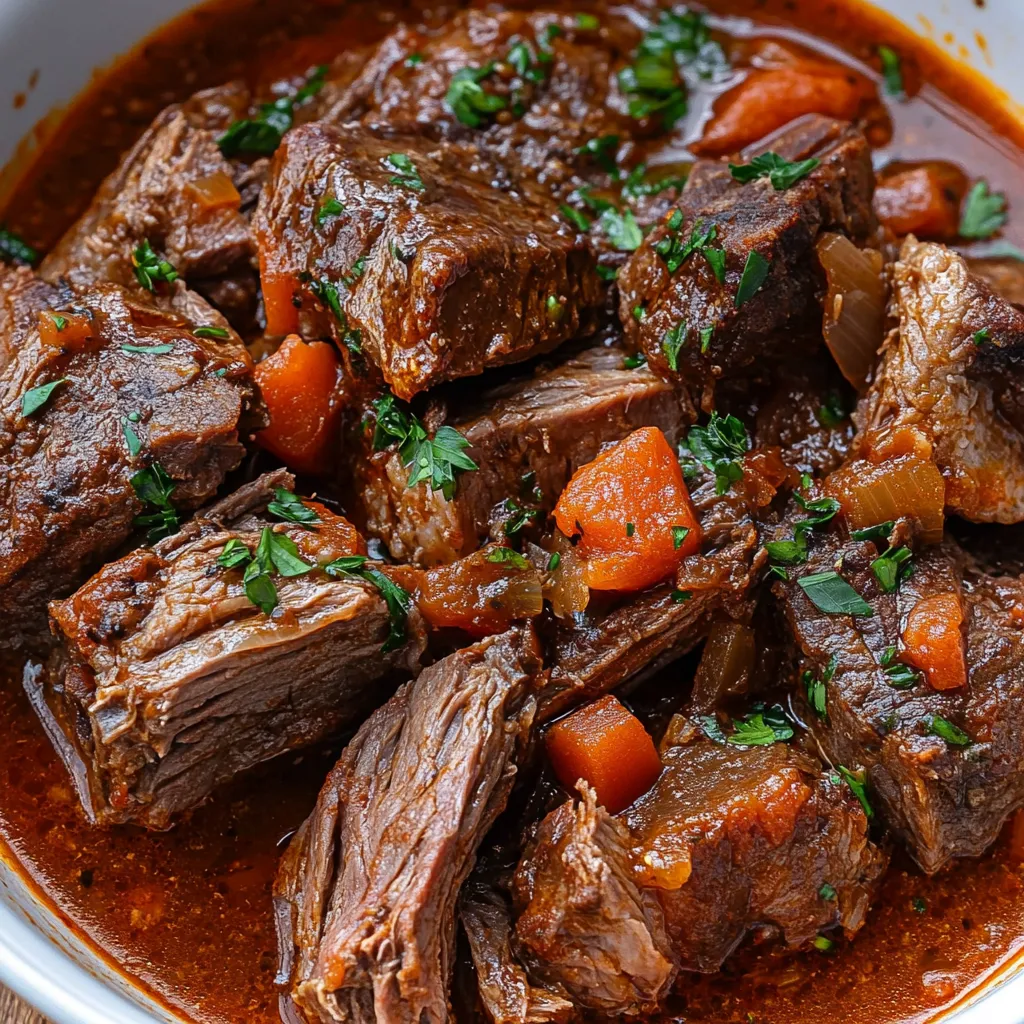
One thing that makes Italian pot roast so great is how many ways you can serve it. The classic way is over smooth, creamy polenta, which soaks up all the rich sauce perfectly. The way the silky polenta feels against the chunks of tender beef creates an amazing combo of textures.
For something more country-style, try it with garlic and rosemary roasted potatoes. The crispy potatoes are a nice contrast to the soft meat. In cold weather, I love putting it alongside a simple risotto – the creaminess goes so well with the thick sauce.
Always have some crusty Italian bread nearby. There's something so satisfying about using bread to soak up the last bits of sauce on your plate. Italians call this "fare la scarpetta" (making the little shoe), and when guests do this, you know they really enjoyed the meal.
Try These Twists
This classic recipe is fantastic as is, but over the years I've come up with some tasty changes. For a Tuscan spin, toss in a handful of pitted Kalamata olives and a spoonful of capers during the final hour of cooking. These salty additions really complement the rich sauce.
When I'm cooking for a special occasion, I sometimes add dried porcini mushrooms that I've soaked in hot water. I pour the soaking water into the cooking liquid and add the chopped mushrooms to the vegetables. This creates an even deeper flavor that mushroom fans will love.
Around the holidays, I like to add a couple strips of orange peel and a cinnamon stick to the pot. These subtle additions create a festive flavor that feels right for the season without taking over the whole dish.
 Save This
Conclusion
I've been tweaking this recipe for over fifteen years, ever since I had that life-changing meal in Tuscany. What makes this dish so special isn't fancy tricks or hard-to-find ingredients, but just patience and respect for tradition. There's something deeply satisfying about the whole process - slowly building flavors, watching a humble piece of meat turn into something amazing. When my house fills with the smell of this simmering pot roast, my family always gathers in the kitchen, eager for dinner. That might be the best part of cooking - bringing people together around food made with time and love.
Commonly Asked Questions
- → What cut of beef works best for Italian pot roast?
- Chuck roast stands out thanks to its nice fat marbling that gets super tender during slow cooking. You can also try brisket, round roast, or short ribs - basically any tough meat that gets better with long, gentle heat.
- → Can I use an Instant Pot or pressure cooker instead?
- For sure! Just brown your meat and veggies the same way, then cook under high pressure for around 60-70 minutes with natural release. You might need to boil down the sauce afterward using the sauté setting.
- → How can I tell when my pot roast is fully cooked?
- Your meat's ready when it breaks apart without much effort and feels super soft when poked with a fork. If it still seems tough or doesn't yield easily, it needs more time to cook.
- → What sides go well with Italian pot roast?
- Go for buttery polenta, fluffy mashed potatoes, or wide pappardelle pasta. Grab some crusty bread to mop up all that good sauce and add a simple green salad on the side to round things out.
- → Is this something I can make beforehand?
- You bet! This dish actually tastes even better the next day once all the flavors have mixed together. Make it a day early, stick it in the fridge, then warm it up slowly on your stove or in a 325°F oven.